 LEARN DETAILS
Easy Solar Kit
Monitoring & Accessory
- Monitoring & Accessory
- Smart Meter
ESK400/800-P
- Power meter
ESK400/800-P
- DTU
ESK400/800-P
- Hang on Balcony (DIY)
-
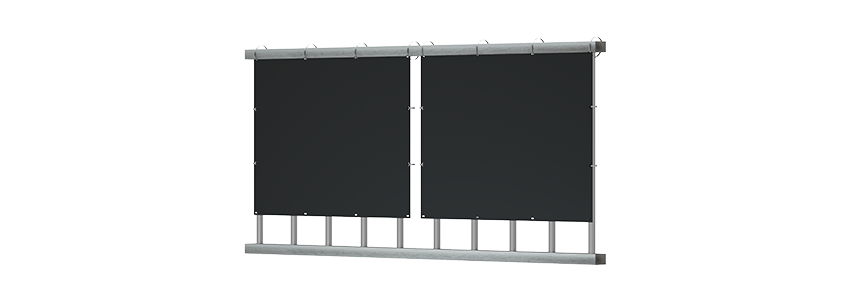
ESK Balcony Air Vertical
ESK400/800-Air(V)
-
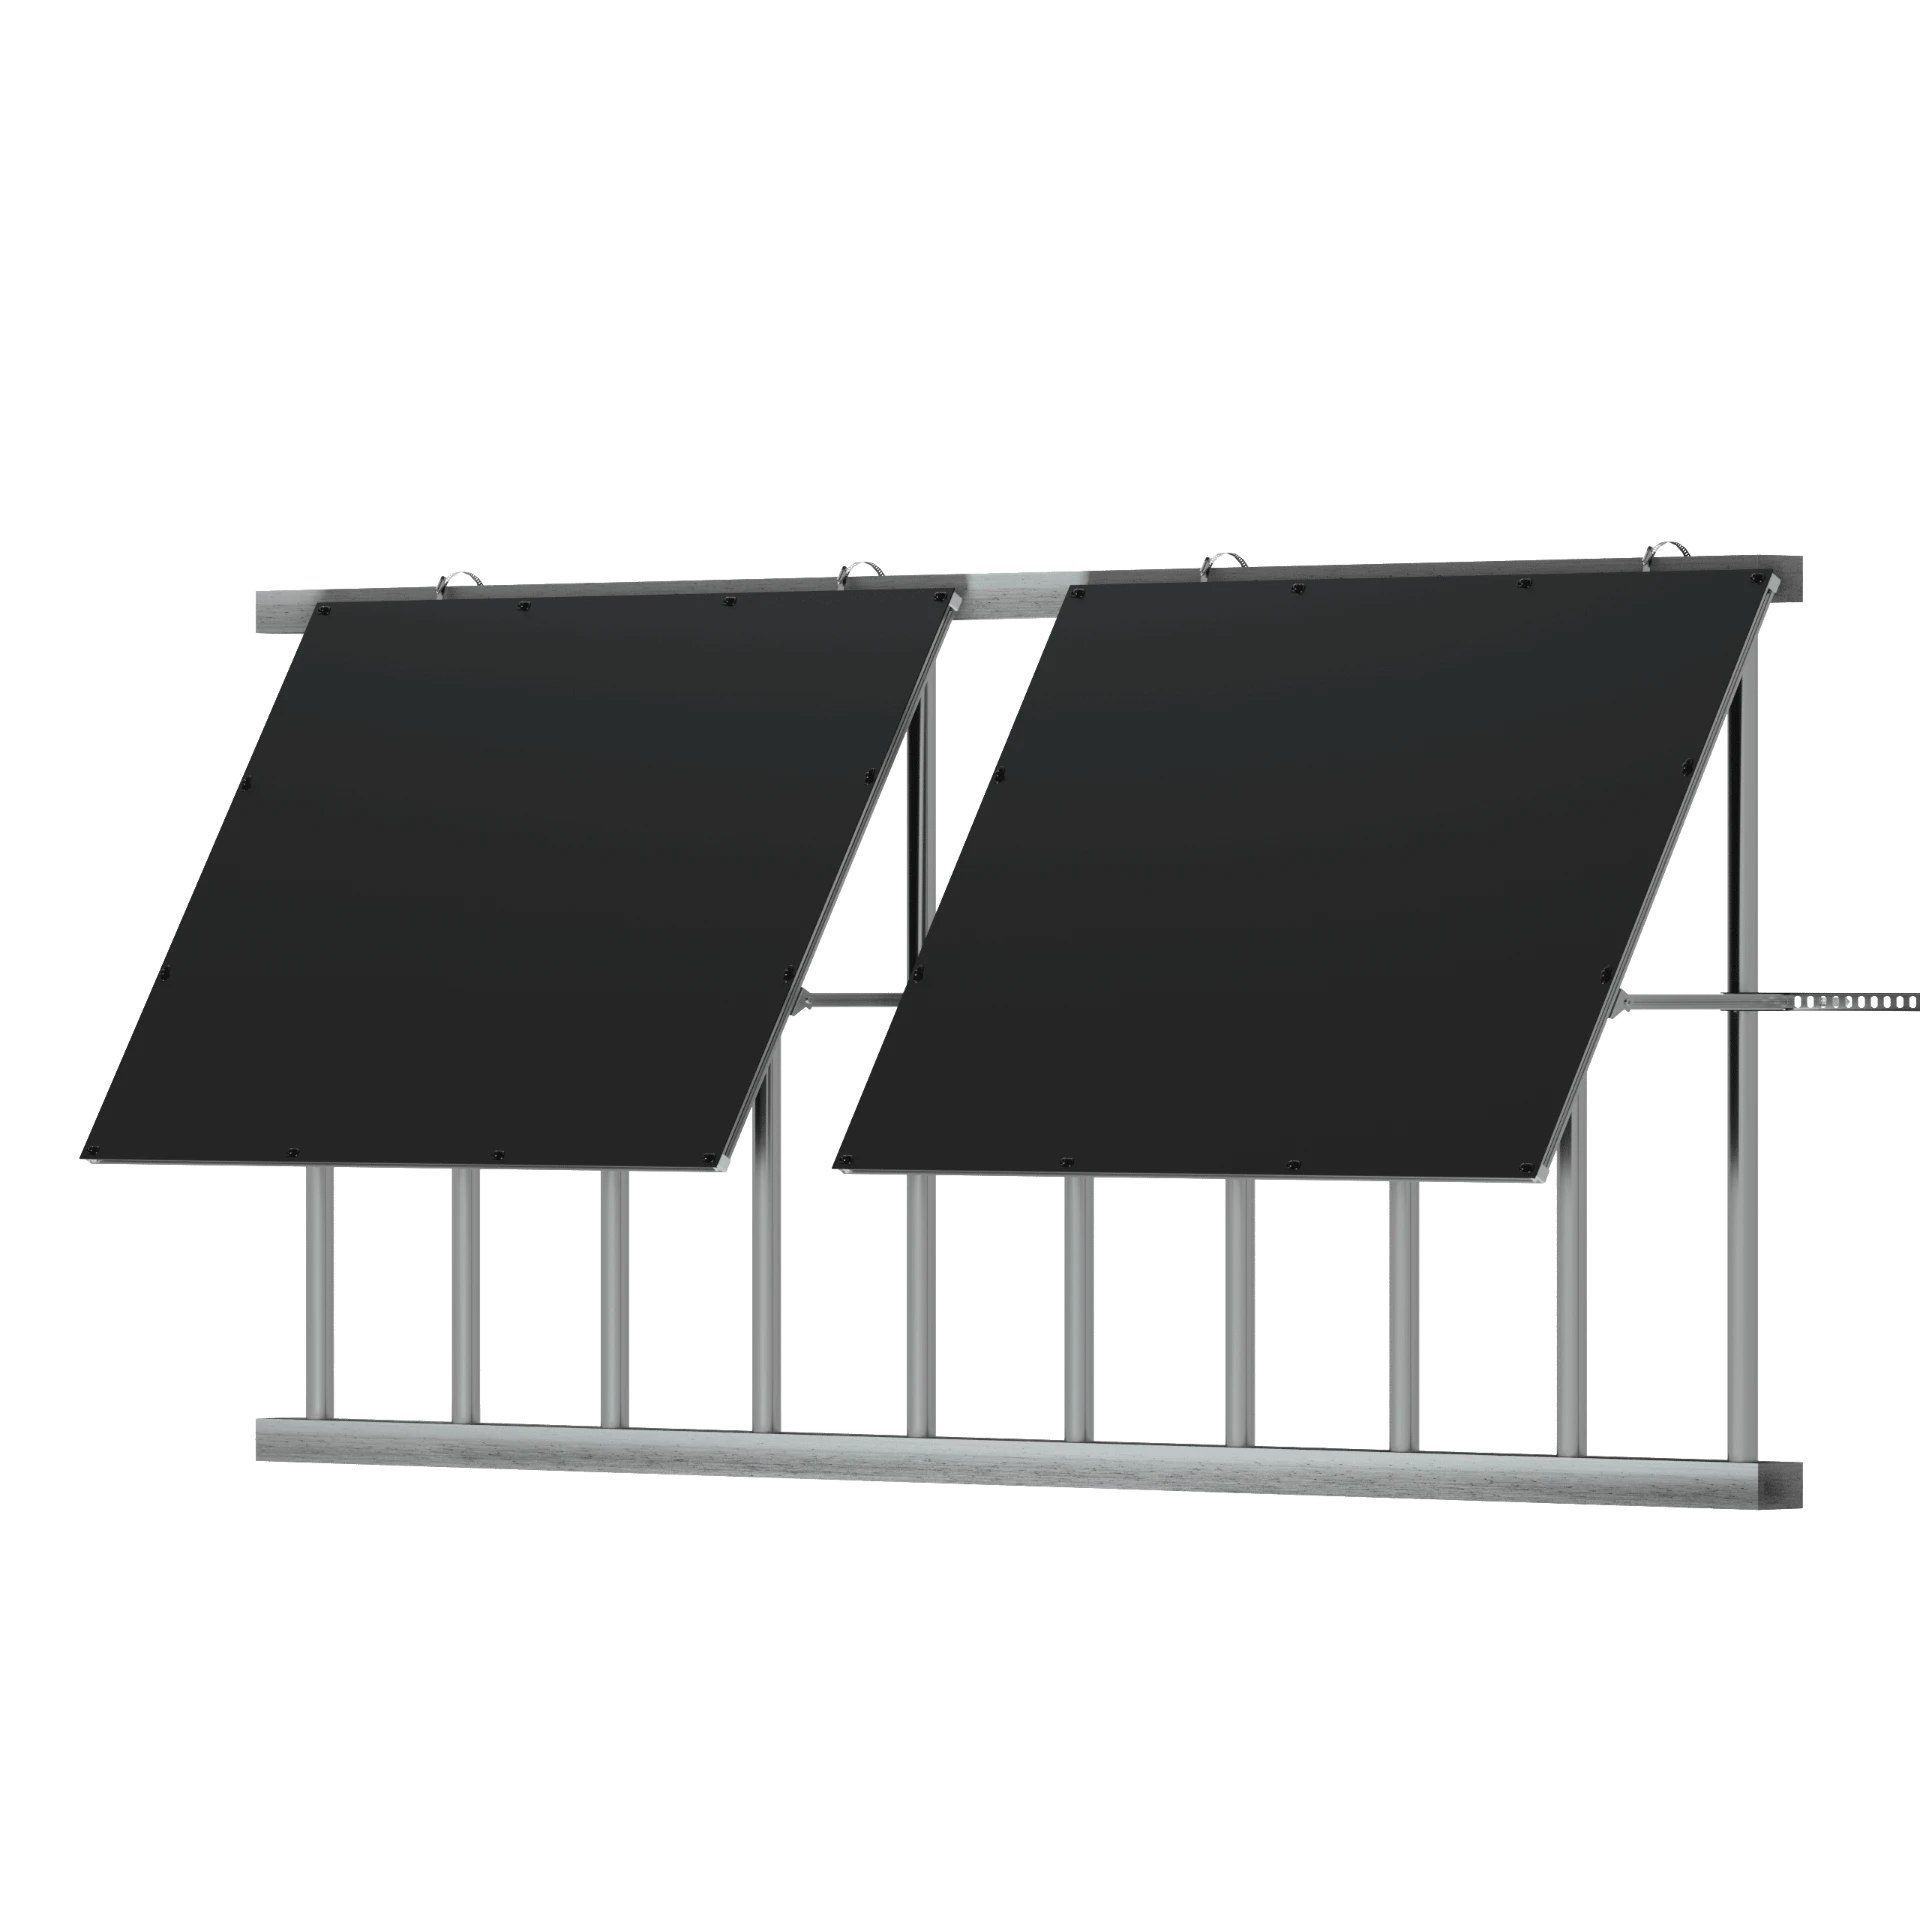
ESK Balcony Air Angled
ESK400/800-Air(A)
-

ESK Balcony Vertical
ESK400/800-BV
-
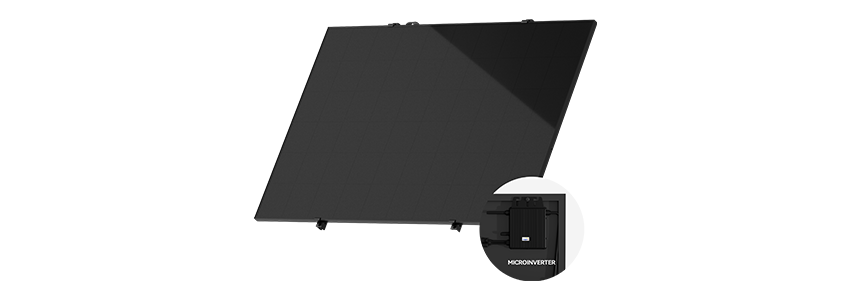
ESK Balcony Angled
ESK400/800-BA
- On the Ground (Ready to Use)
-
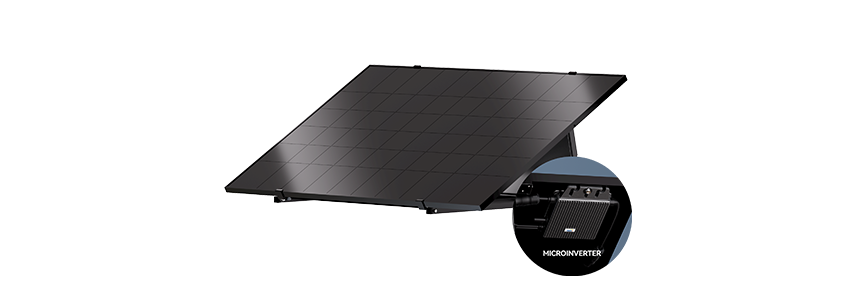
ESK Pop-Up
ESK400/800-P
- All Scenarios (DIY)
-
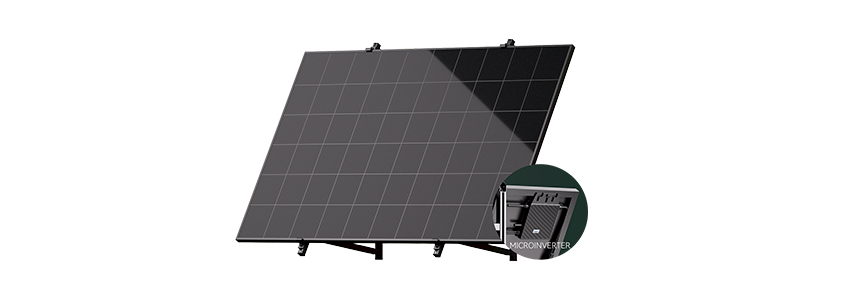
ESK Universal
ESK400/800-U
-
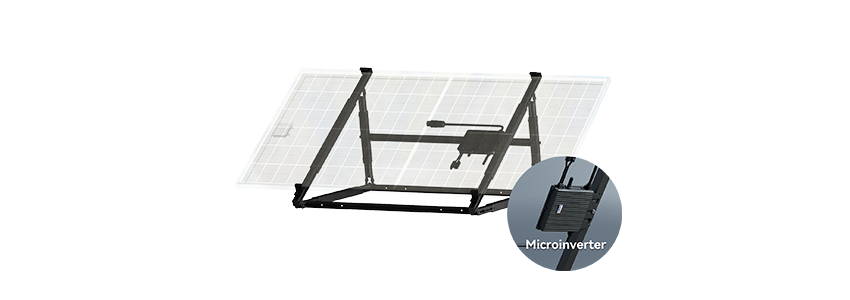
ESK Transformer
ESK400/800-T
- Residential Storage System
-
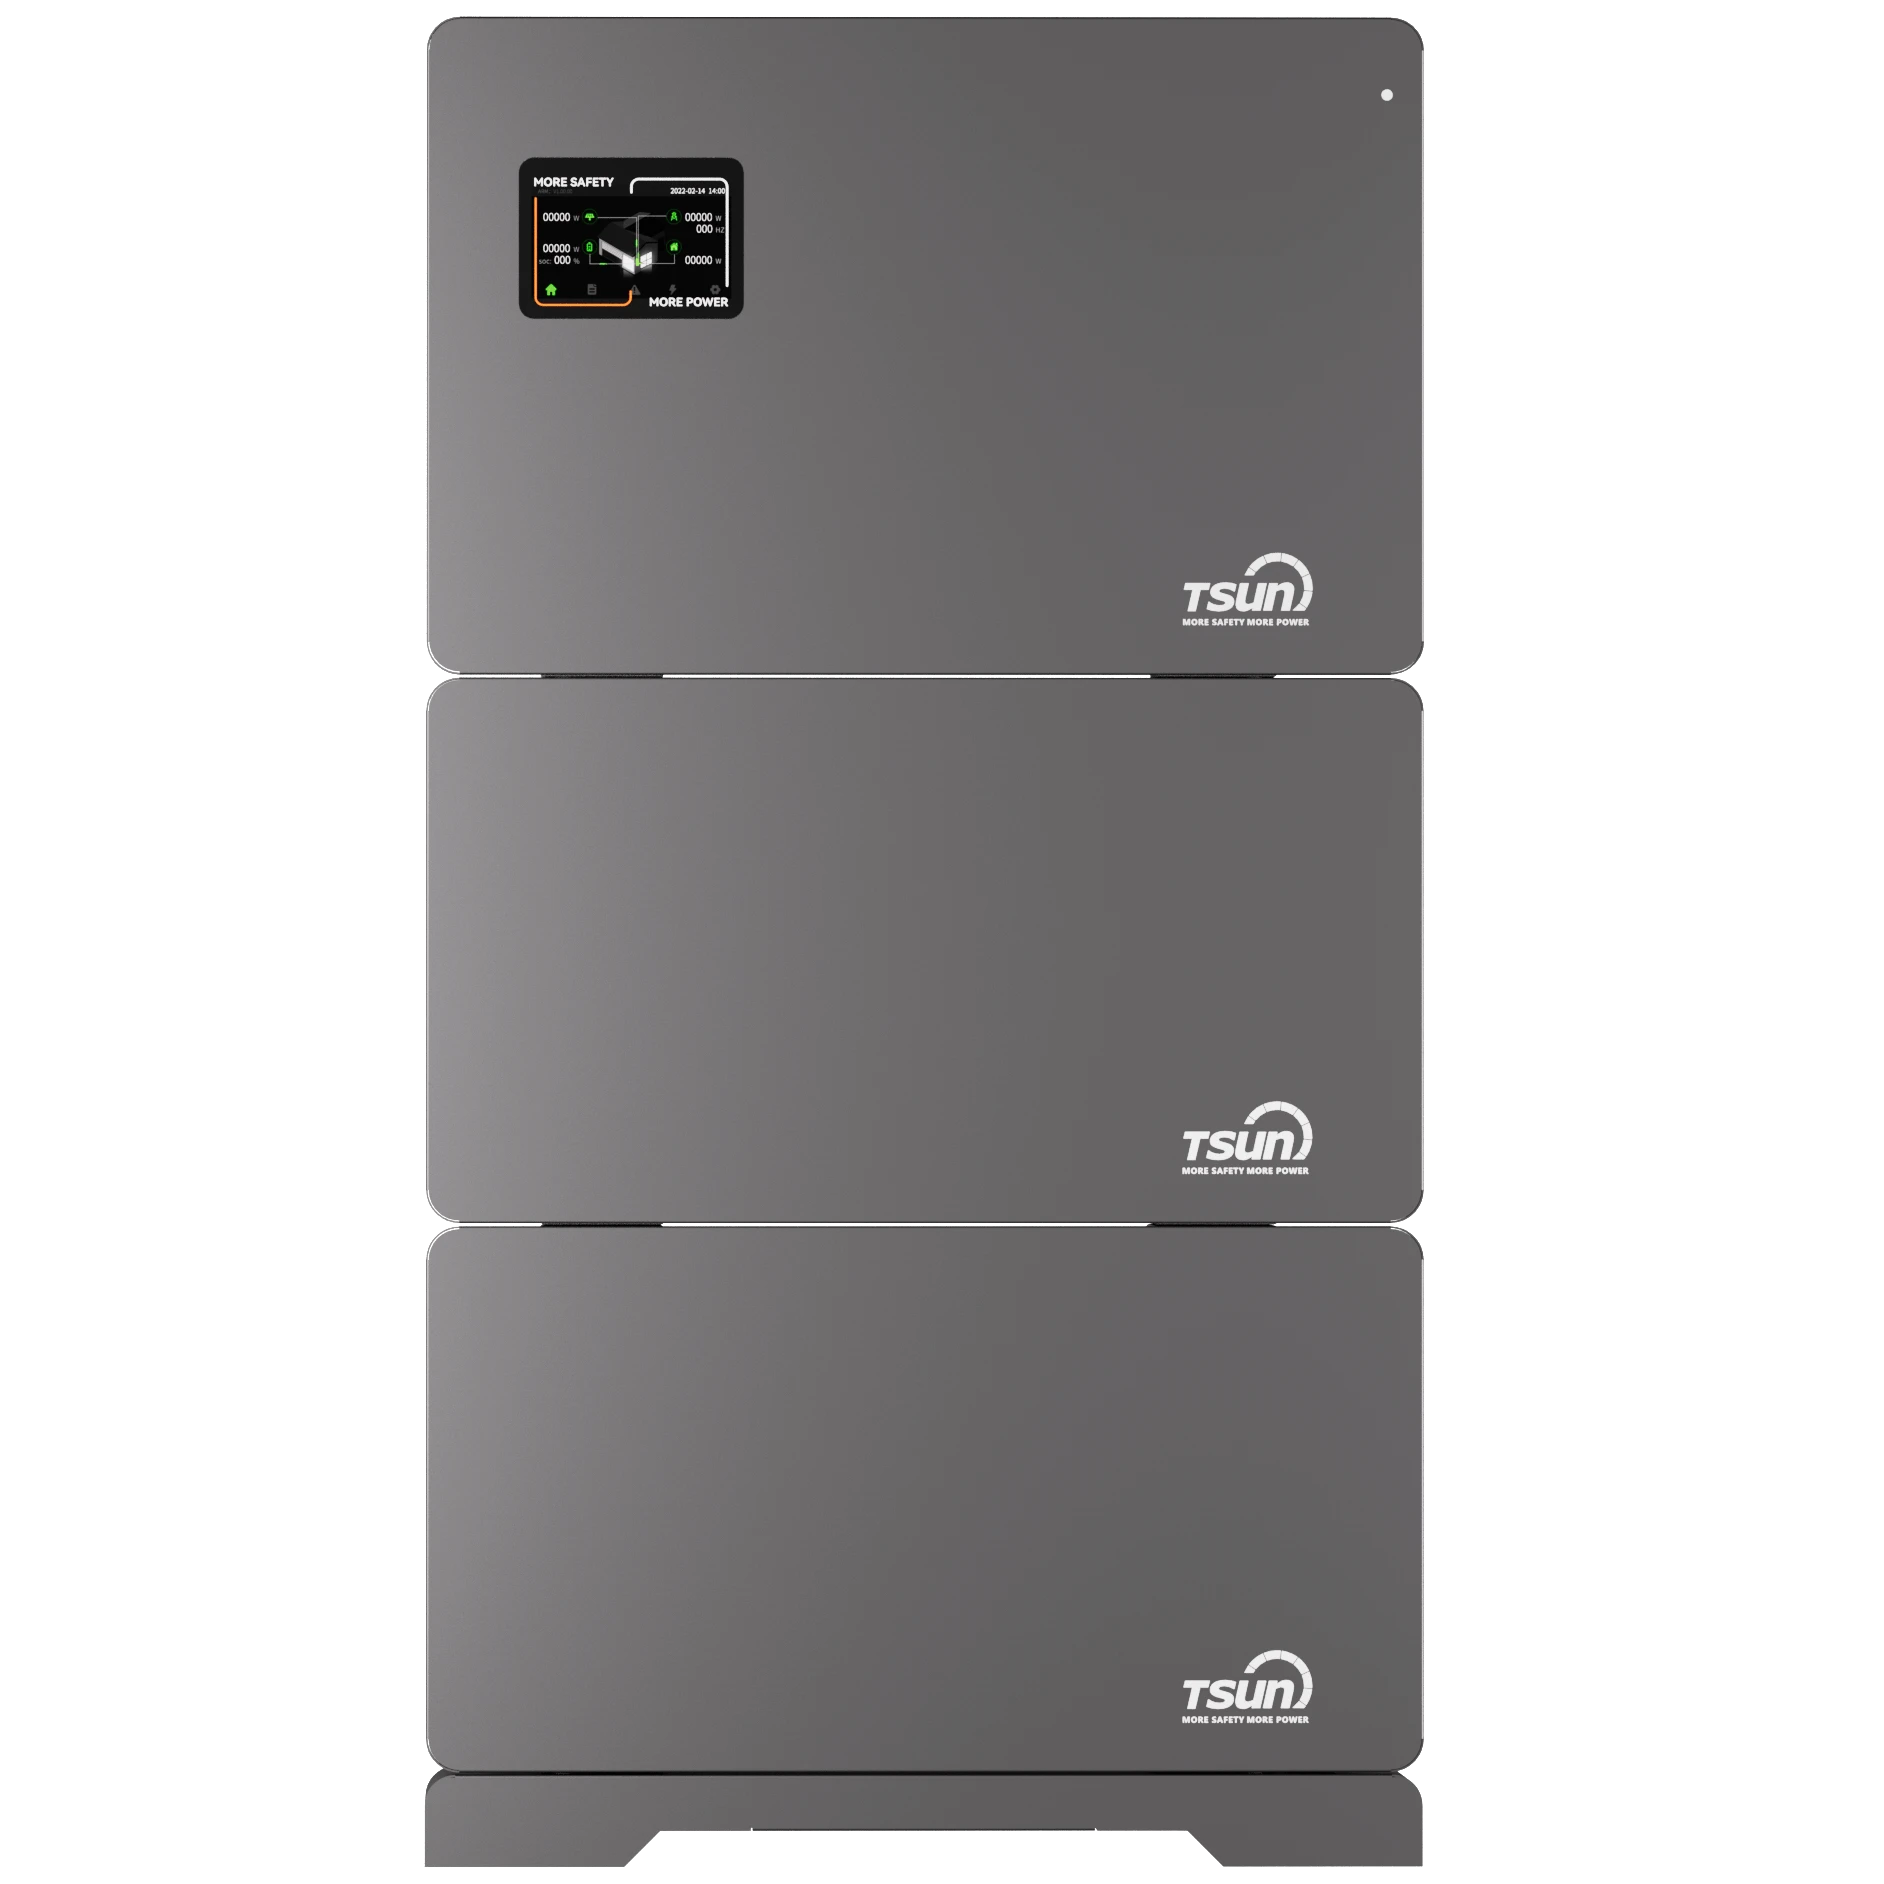
AC Coupled Storage Unit
ACU3.0/3.6/4.0/4.6/5.0/6.0K | 5KWh-20KWh
- Monitoring & Accessory
-

Smart Meter
Built-in Wi-Fi
-

Power meter
Built-in RS485/CT
-

DTU
Built-in Wi-Fi & RS485 & RJ45

On Grid System — Easy Solar Kit
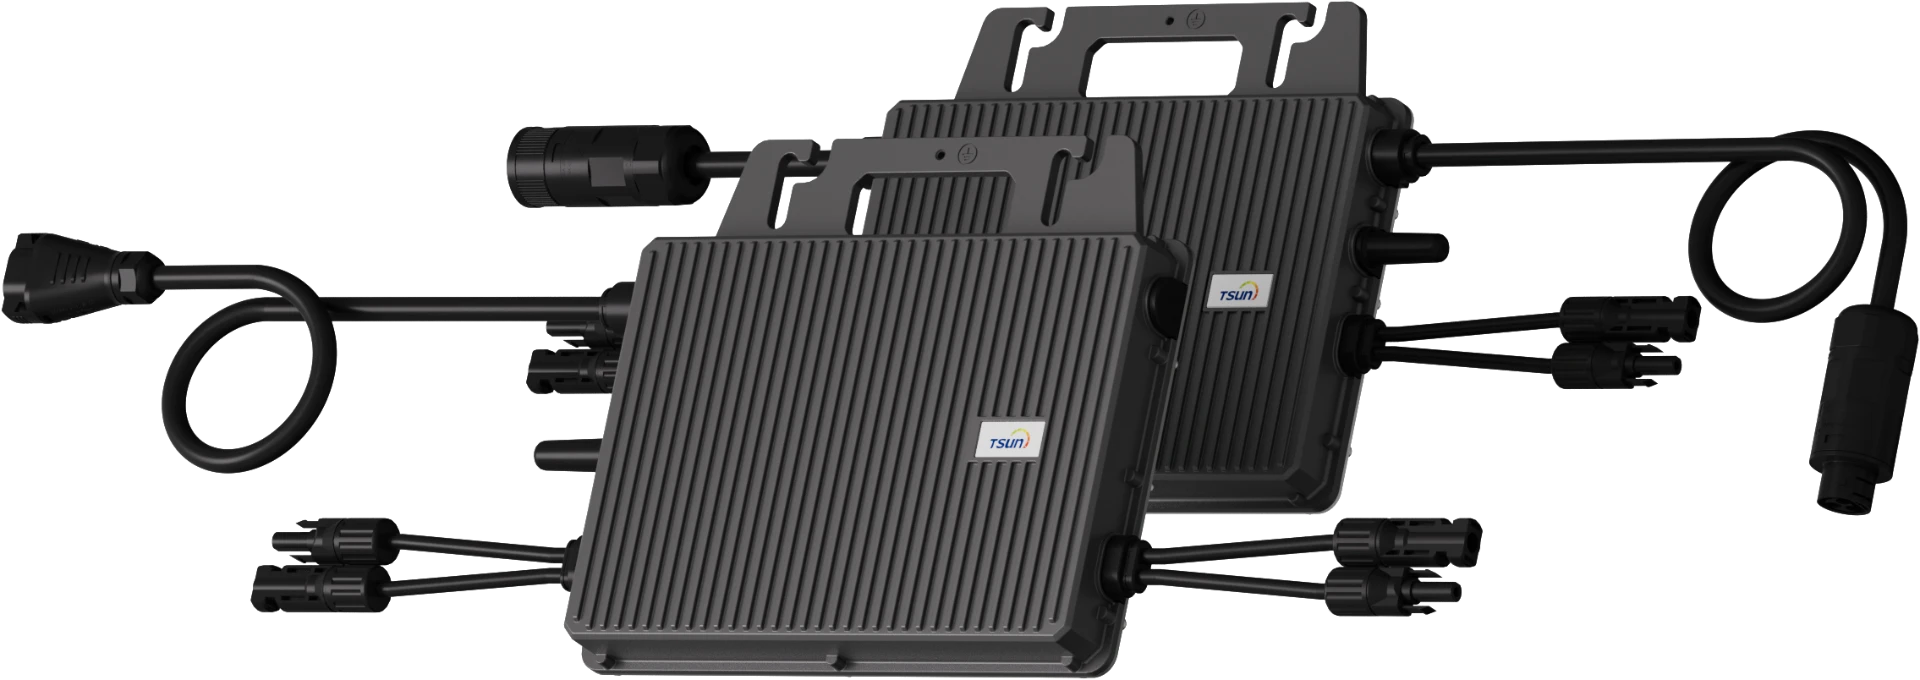
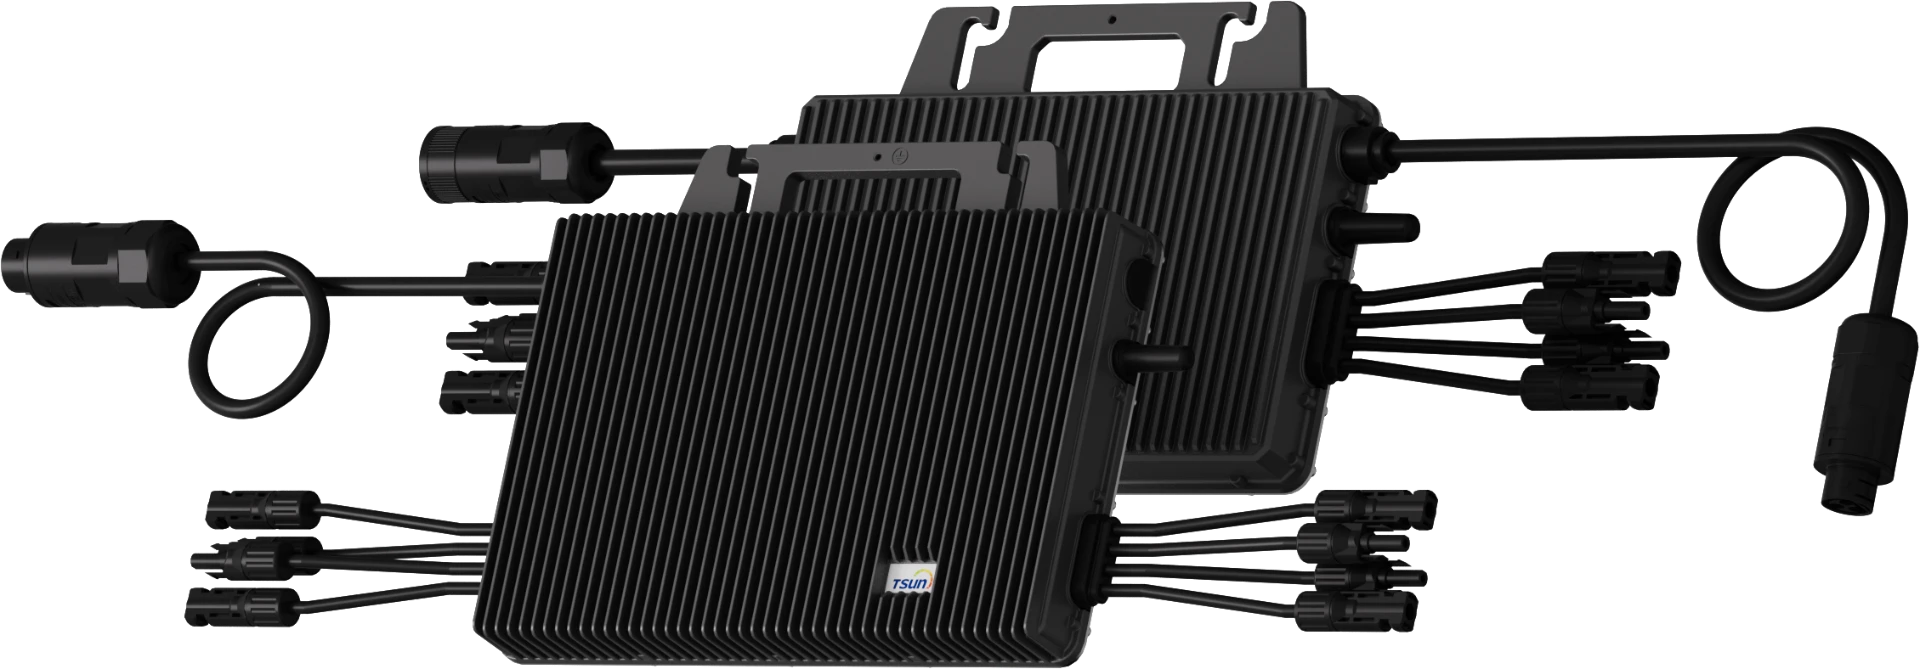
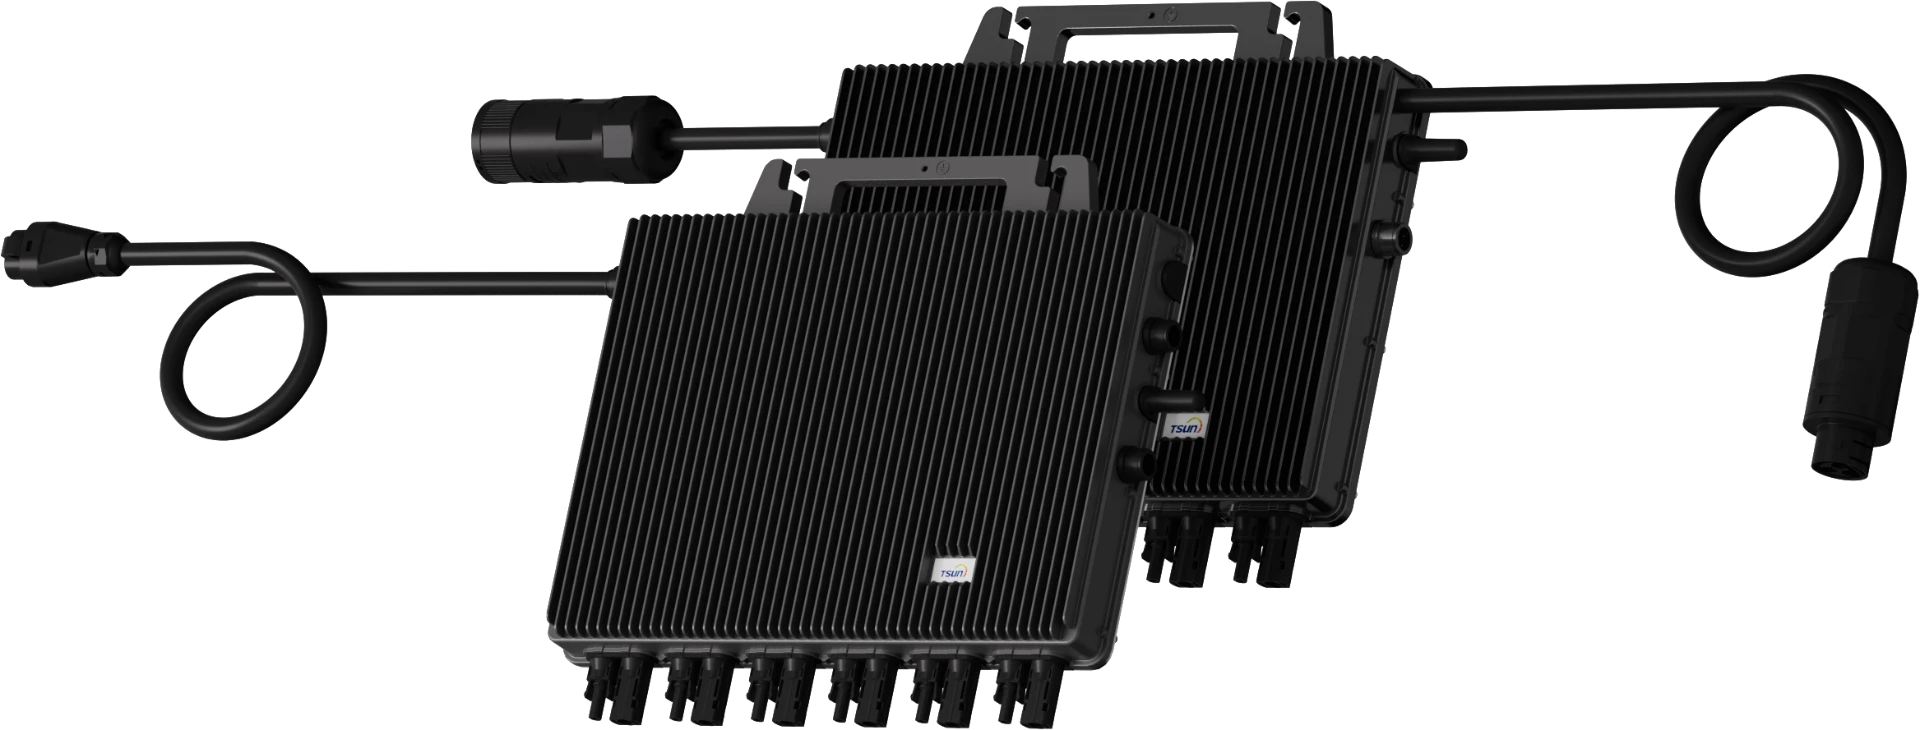
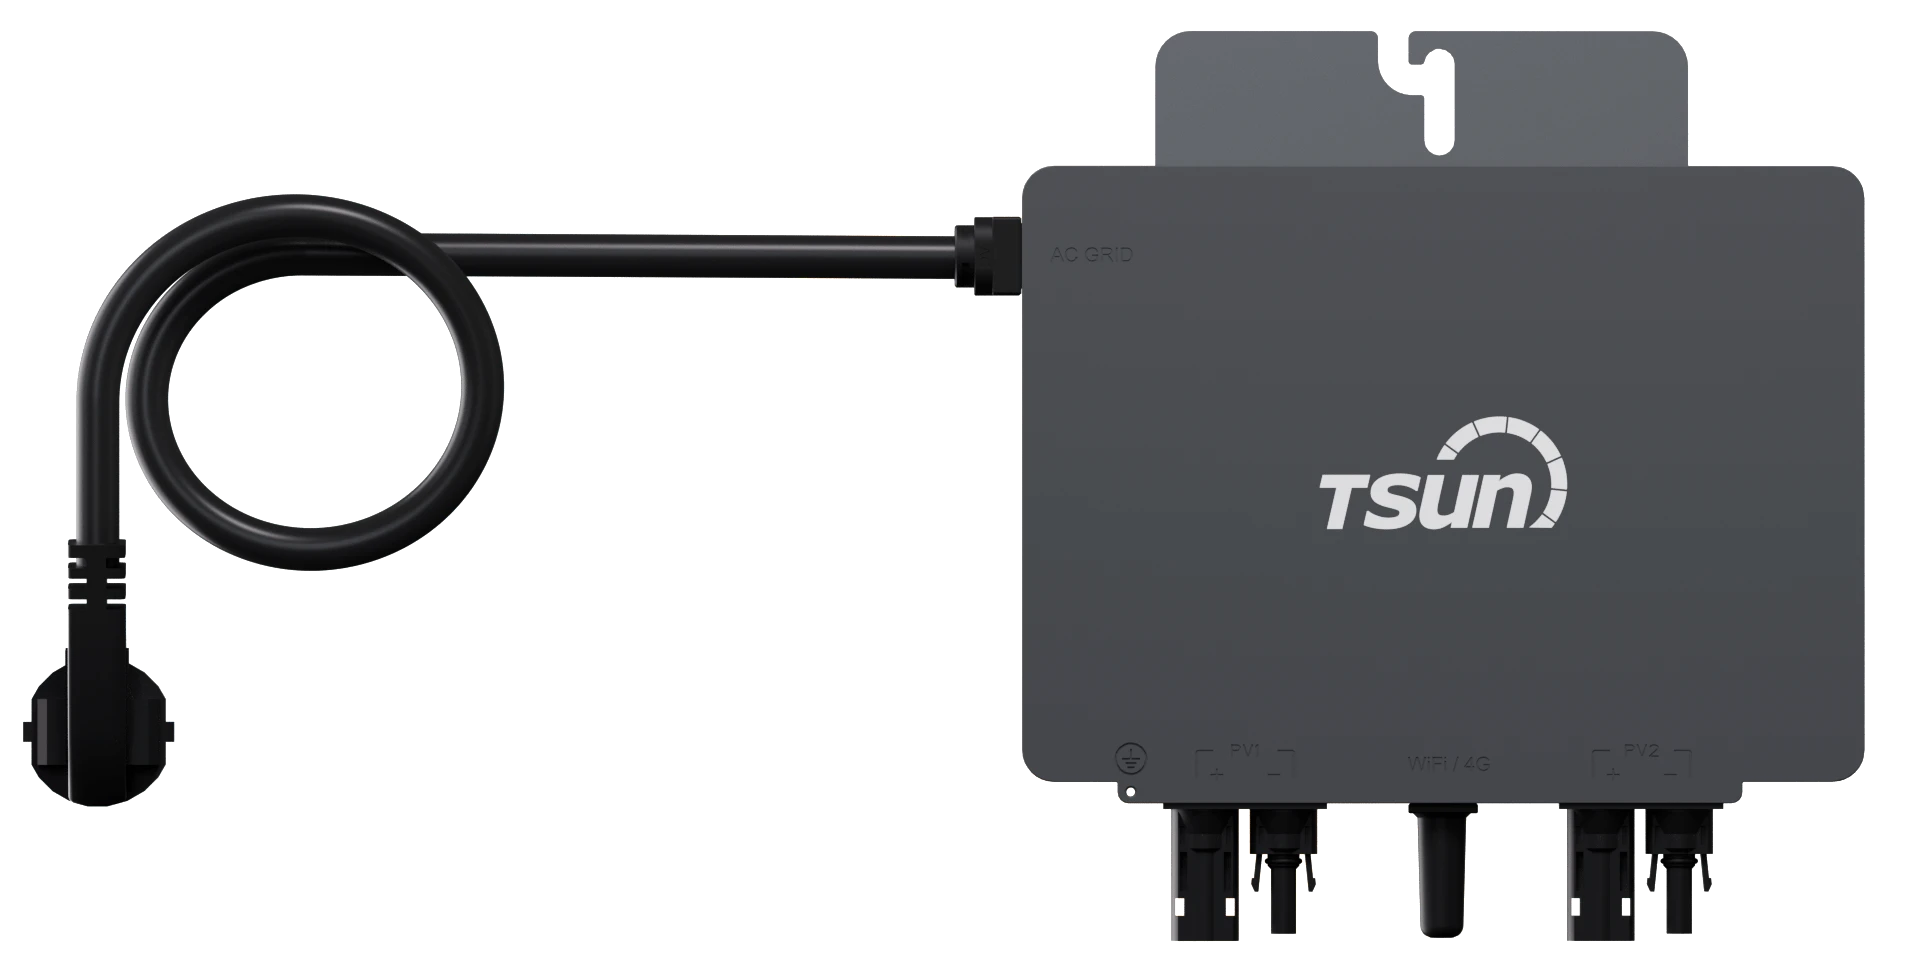
Easy Solar Kit, which integrates PV module, microinverter, DIY bracket and cables, is designed for a variety of applications, can be installed on balcony, garden, flat roof and even wall.
 LEARN DETAILS
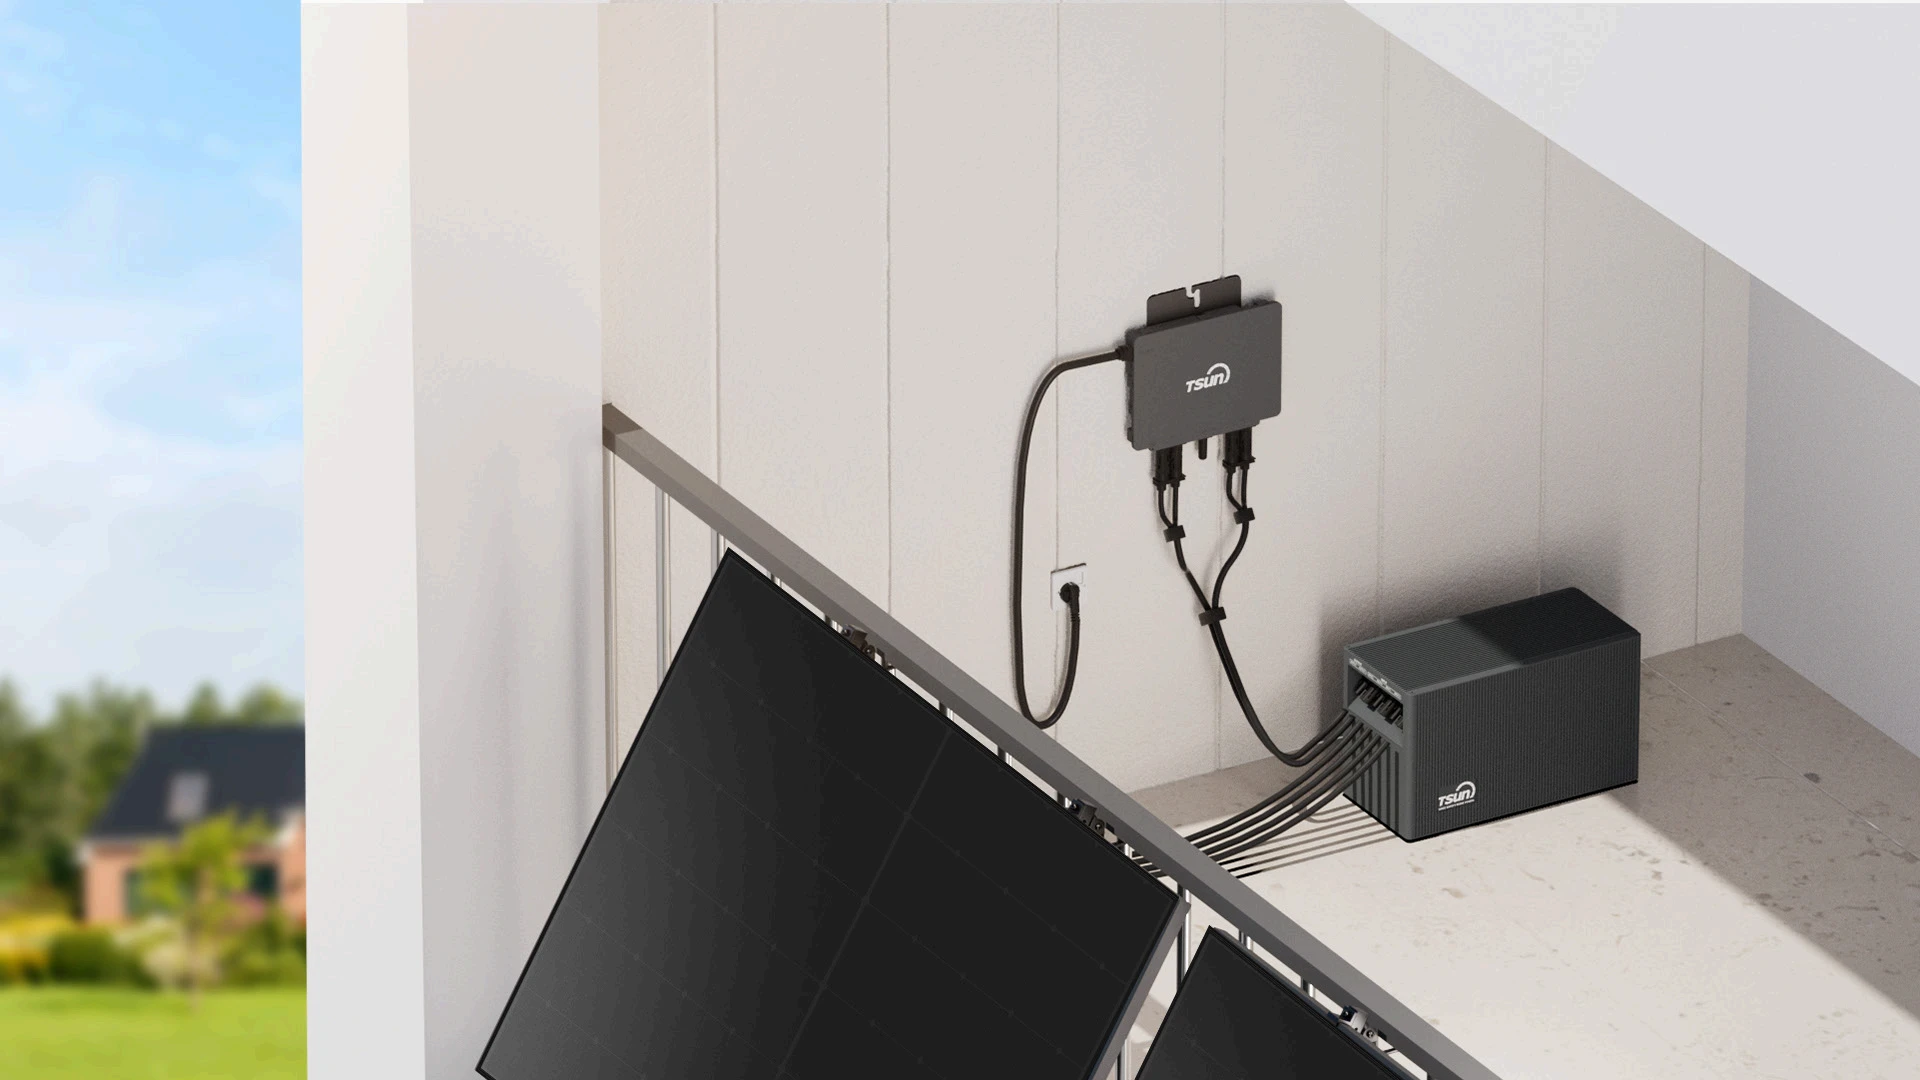
Storage System — SolarCan(DC Coupled Unit) & Easy Solar Kit
This solution, Solar Module + SolarCan + Balcony Microinverter, is typically used as a micro energy storage solution for small household, conventional balconies, courtyards, family carports, and other plug & play scenarios.
 LEARN DETAILS
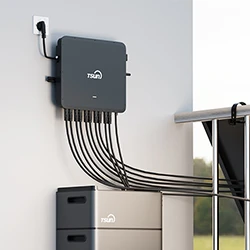
Storage System — Hybrid Microinverter & Stackable Battery Pack & Easy Solar Kit
The integrated configuration of solar modules, hybrid microinverters, and batteries serves as a versatile hybrid energy storage solution, predominantly deployed in diverse residential settings, including balconies, courtyards, and house carports.for small household, conventional balconies, courtyards, family carports, and other micro systems.
 LEARN DETAILS
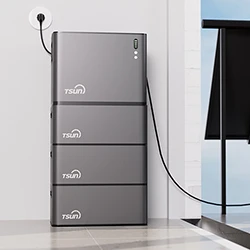
SolarTrunk(Micro Hybrid Storage Unit) & Easy Solar Kit
The SolarTrunk is designed to store surplus electrical energy within the battery and discharge it as required. This integrated configuration of solar modules and the SolarTrunk functions as a versatile hybrid energy storage solution, predominantly deployed in diverse residential settings, including balconies, courtyards, and house carports
 LEARN DETAILS
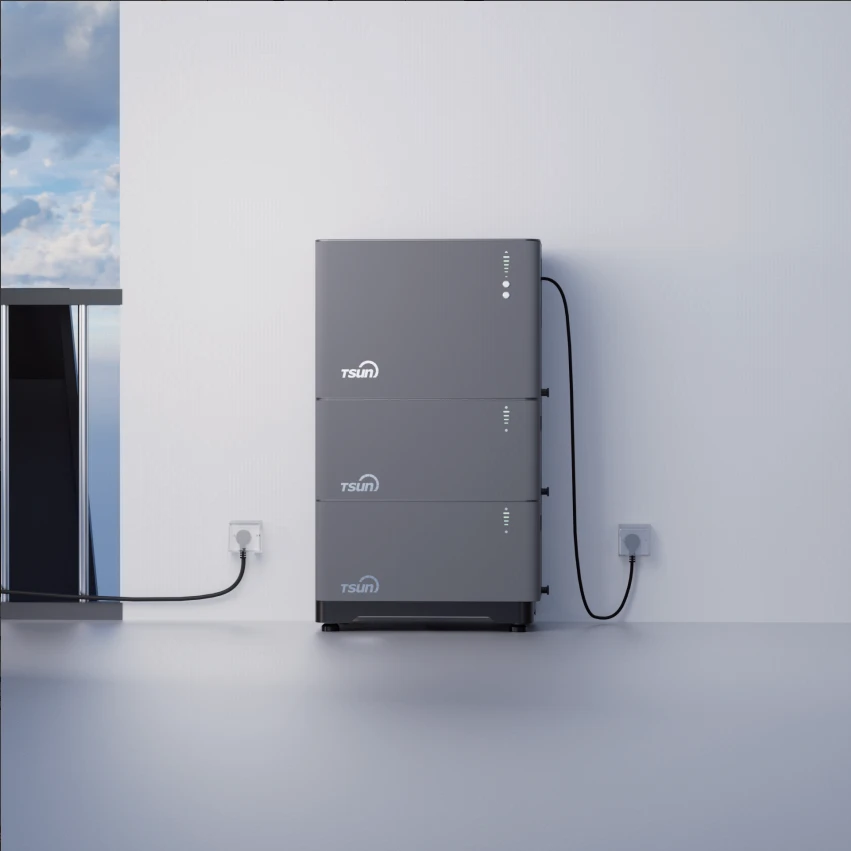
PowerTrunk(Micro AC Coupled Unit) & Easy Solar Kit
The PowerTrunk is a key component of the micro hybrid storage system, which integrates both the energy storage inverter and the battery pack.
 LEARN DETAILS

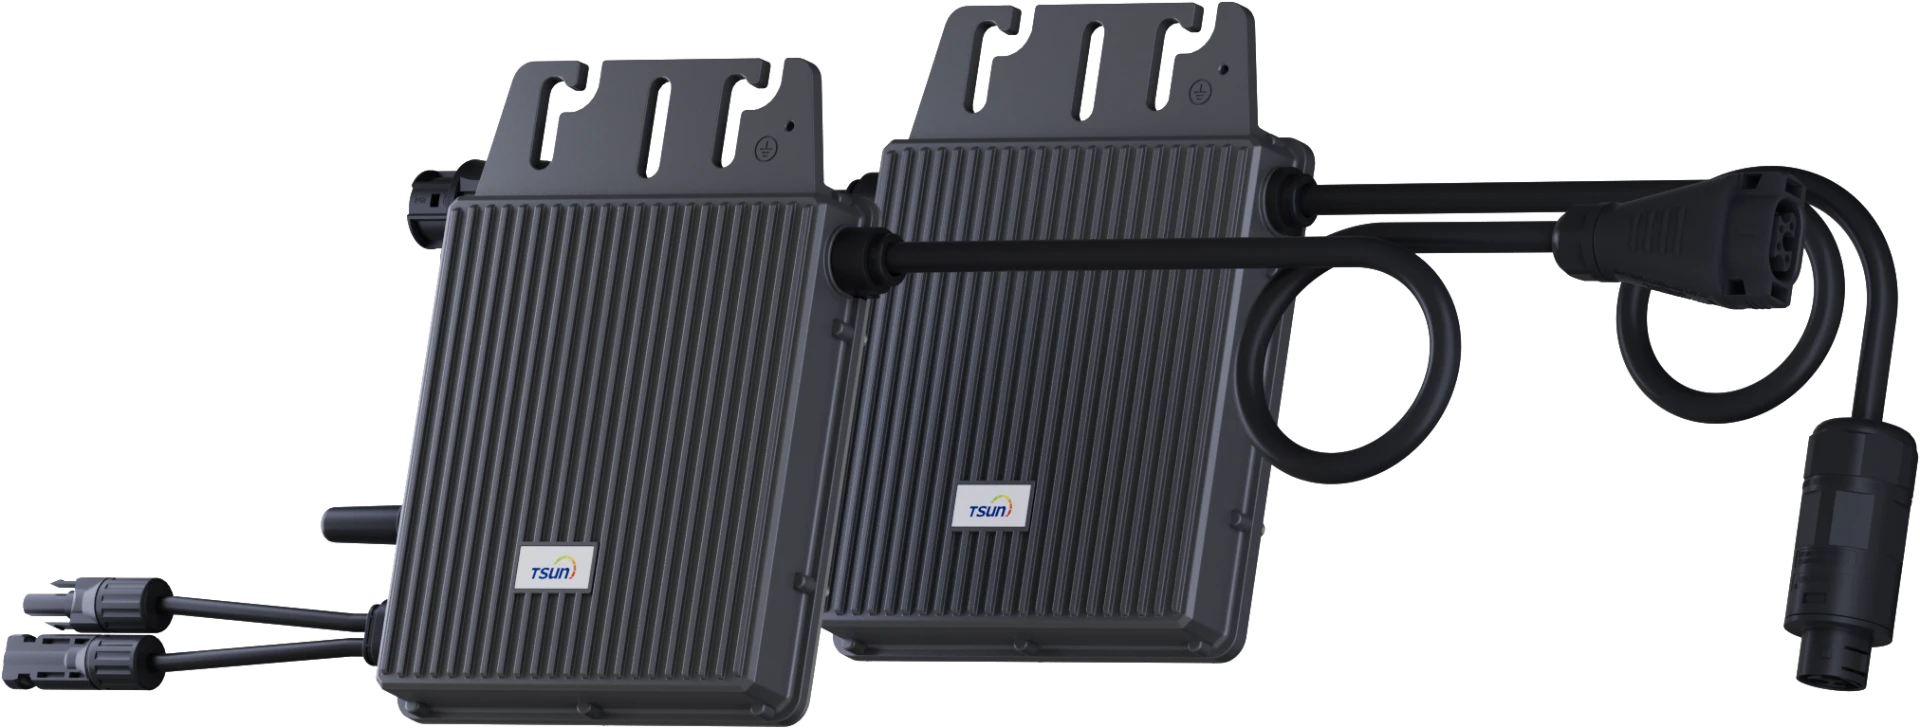


 Downloads
 Video Center
 Report Fault for Repair
 FAQS
FAQS Service Network
 Privacy Policy
 Contact us
 Monitoring


 LEARN MORE


