Building a DIY solar system can be a gratifying project, offering both environmental benefits and potential cost savings on energy bills. Here’s an in-depth exploration into embarking on your own solar journey, infused with professional insights and real-life experiences to guide you smoothly through the process.
Initiating your DIY solar project begins with understanding the basic components necessary for a functioning system. The primary elements include solar panels, a charge controller, a battery bank, and an inverter. Each of these components plays a crucial role in capturing, storing, and converting solar energy into usable electricity for your home.
Selecting the right solar panels is paramount. Opt for panels with high efficiency and reputable warranties. Monocrystalline panels are traditionally recommended for those who seek high power output in limited spaces, while polycrystalline panels, though slightly less efficient, offer a cost-effective alternative. Paying attention to product reviews and consulting with manufacturers will lend authority to your decision-making process and increase the likelihood of a successful installation.

Once panels are procured, determining how to mount them effectively is the next challenge. Experience from seasoned DIY enthusiasts highlights the importance of positioning panels to maximize sunlight exposure. This means tilting them at an angle relative to the latitude of your location. Ensuring they are free of shade from trees or buildings during peak sunlight hours will optimize energy capture. Online communities are rich with anecdotal insights and visual guides for constructing sustainable and adjustable mounts.
The battery bank is the heart of your solar system, dictating how much stored energy is available when the sun isn’t shining. Lithium-ion batteries, although more expensive, are praised for their longevity and efficiency. Professional advice stresses the importance of calculating your energy needs accurately before purchasing batteries; this involves assessing daily electrical consumption and potential future increases in demand.
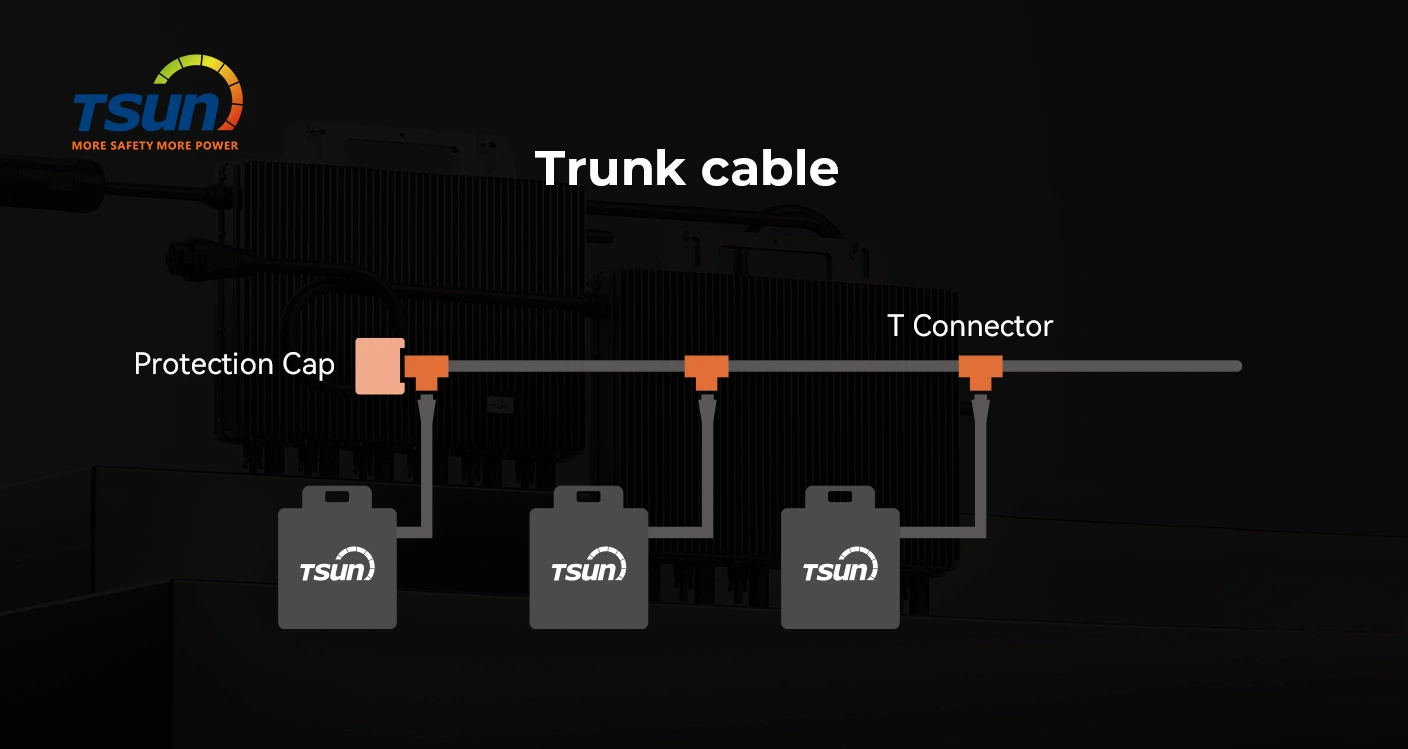
easy diy solar system
Connecting a charge controller is a critical step to safeguard your battery bank. This device regulates the voltage and current coming from the solar panels going to the battery, preventing overcharging or discharging—the embodiment of protecting your investment. For expertise-driven decisions, research the compatibility of the controller with both your solar panels and batteries.
With energy stored, an inverter becomes necessary to convert the DC power from the batteries into AC power required by most household appliances. Pure sine wave inverters are recommended for their quality and reliability, essential for sensitive electronics and appliances. Expertise in the selection process can be derived from understanding the wattage requirements of your intended power load, ensuring the inverter’s capacity aligns with these needs.
Safety cannot be understated in any DIY project. Proper insulation of wires, secure housing for batteries, and adherence to local electrical codes will reinforce the trustworthiness of your installation. Consider seeking feedback and validation from professional electricians to bolster your system’s safety profile.
Finally, maintaining your system is equally important as its initial construction. Regularly cleaning solar panels to remove dust and debris can enhance energy absorption. Given the robust nature of these systems, periodical check-ups on wiring and connections are advised to prevent any foreseeable issues.
Embarking on a DIY solar system project is not just about initial cost savings or augmenting your environmental footprint—it is about investing in a sustainable future with the assurance provided by solid planning, expert guidance, and reliable equipment. Through informed decisions and committed maintenance, your DIY solar enterprise can achieve success, becoming a testament to renewable self-sufficiency.


")


")
")
")


 LEARN DETAILS


 Downloads
 Video Center
 Report Fault for Repair
 FAQS
FAQS Service Network
 Privacy Policy
 Contact us
 Monitoring


 LEARN MORE